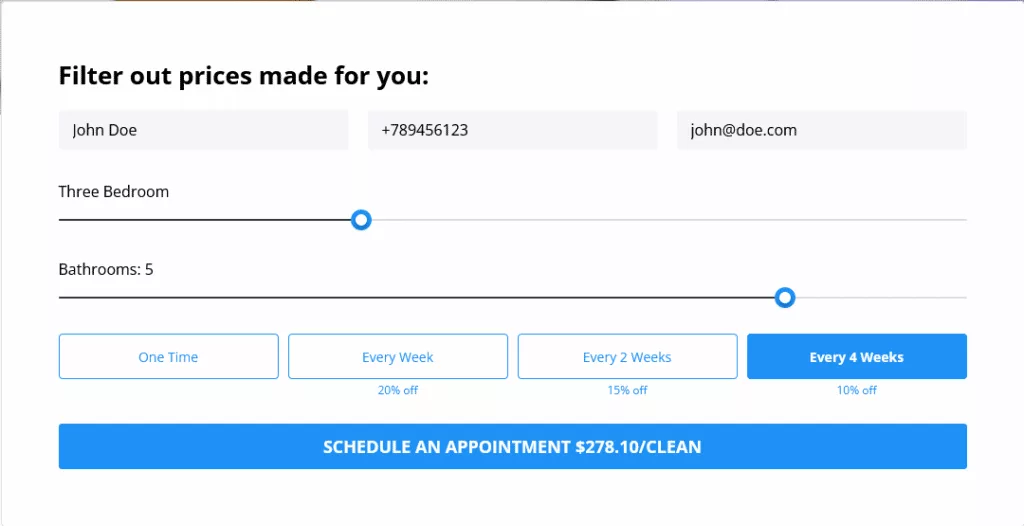
After a user submits the data through the booking widget, all his data are saved in the WP Admin Dashboard.
To check them, go to your WP Admin Dashboard, and find “Leads > All Leads” on the left side menu.

This is the screen you will get:
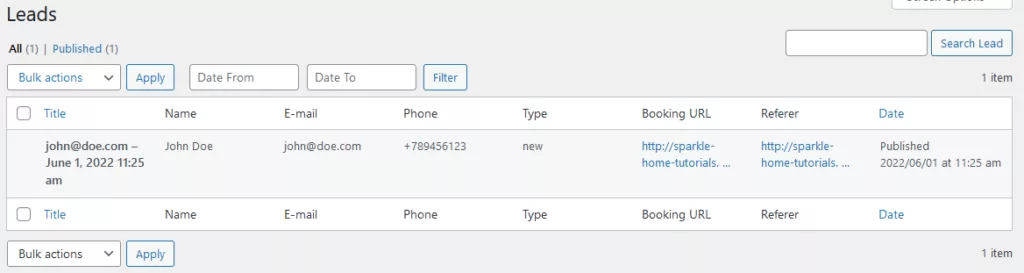
You can search and filter them by date range.
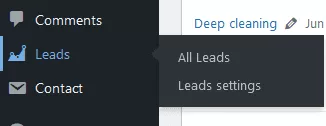
Also, you choose “Leads > Leads Settings”:
This is the screen you’ll get with various settings and options:
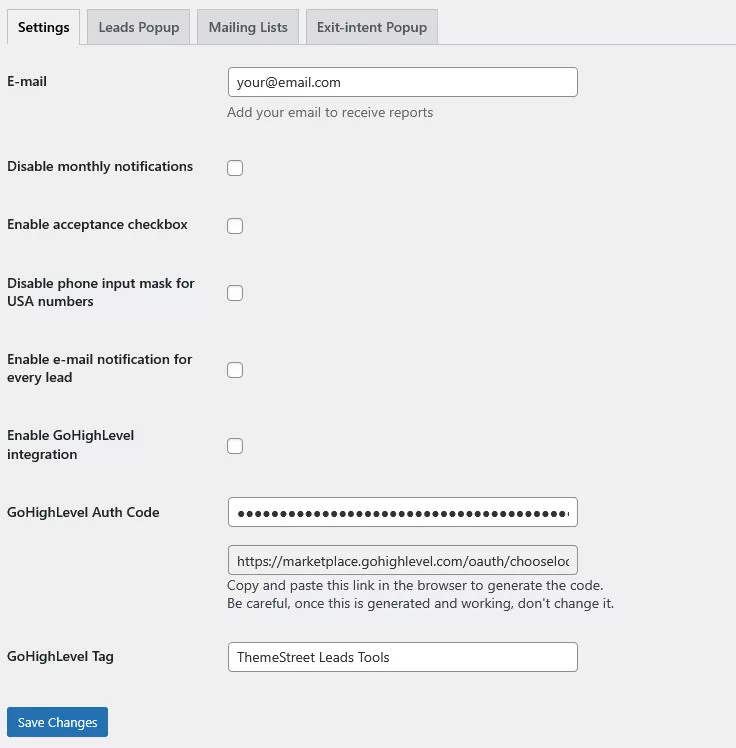
Settings
- Email: Where the notifications will go
- Disable monthly notifications: Disable if you don’t want to receive monthly notifications
- Enable acceptance checkbox: Add a checkbox for users to accept your terms when submitting the data
- Disable phone input mask for USA numbers: By default, input field for phone is masked with USA phone number, disable it if you don’t want it
- Enable e-mail notification for every lead: Get email notification every time a lead is created
- Enable GoHighLevel integration: Enable the GoHighLevel integration and generate the GoHighLevel code in the field below
- GoHighLevel Tag: This is a tag every user created with Leads Tools will get in GoHighLevel
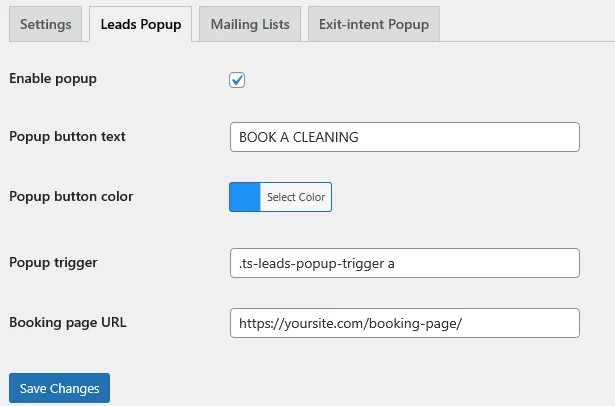
Leads Popup
- Enable popup: Wrap all “Book now” buttons accross the website with a booking popup trigger that will have name, email and phone fields mandatory. So all users need to leave their data before visiting booking page
- Popup button text: Button text
- Popup button color: Button color
- Booking page URL: URL of your booking page
- Popup trigger: CSS classs every button needs to have
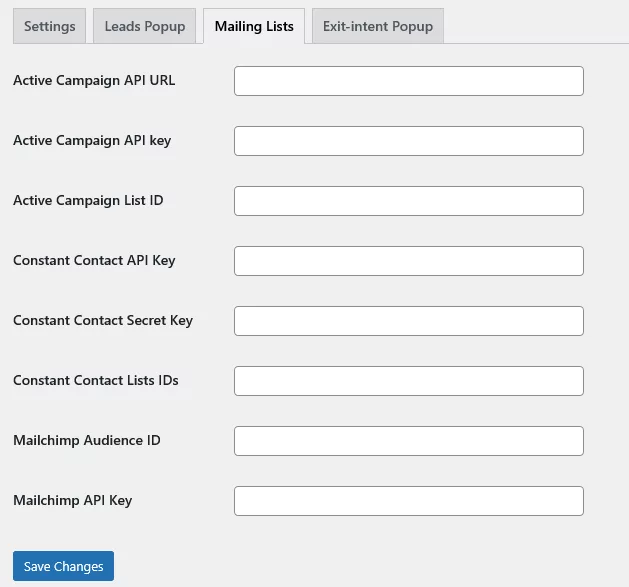
Mailing lists
If you want to sync your leads with your mailing list software, this is the place to connect.
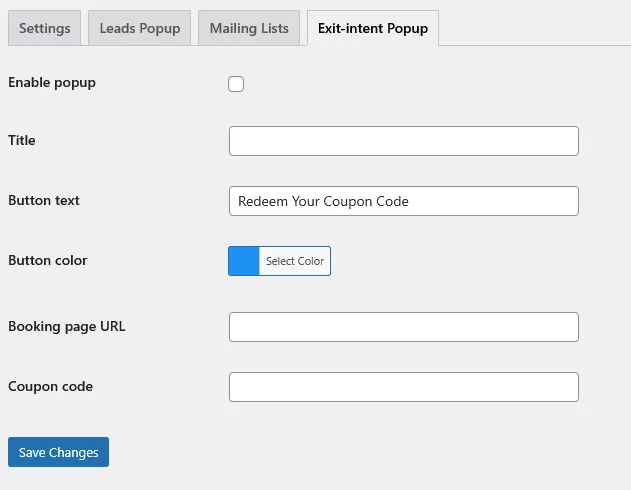
Exit intent popup
- Enable popup: Enable the popup that will show whenever a user tries to leave the page. This is the great place to offer user a discount code if they try to leave you
- Title: Popup title
- Button text: Text of the button in the popup
- Button color: Color of the button in the popup
- Booking page URL: Your booking page url
- Coupon code: Your coupon code